Portable blenders typically take 2 to 4 hours to charge fully, depending on factors like battery size, charger type, and power source. Here's what you need to know:
- Smaller batteries charge in about 2 hours; larger ones may take 4+ hours.
- USB-C chargers are faster than micro-USB.
- Charging via a wall adapter is quicker than using a laptop or car charger.
- Room temperature (68-72°F) is ideal for efficient charging.
Pro Tip: Avoid blending while charging - it slows the process and can harm the battery. For BLENDi blenders, all models charge in 5 hours and come with USB-C cables (but no wall adapters). Always unplug once fully charged to maintain battery health.
Keep your blender ready by following these tips, and enjoy hassle-free blending anytime!
What Affects Charging Speed
Your Usage Habits and Battery Age
Charging speed isn't just about battery size or the type of charger you use. How you use your blender and the age of its battery play a big role too. Over time, lithium-ion batteries naturally wear out - usually after about 300–500 full charge cycles. As they age, they take longer to charge and may not hold power as efficiently.
Frequent use, especially with tougher ingredients like frozen fruit, ice, or dense vegetables, can drain the battery faster. One key tip: avoid blending while the device is charging. Doing so slows down the charging process and can reduce overall efficiency. Additionally, heavy usage patterns can lead to batteries cycling more frequently, which means they’ll need more time to recharge fully as they age.
How to Charge Your Portable Blender Properly
Safe Charging Methods
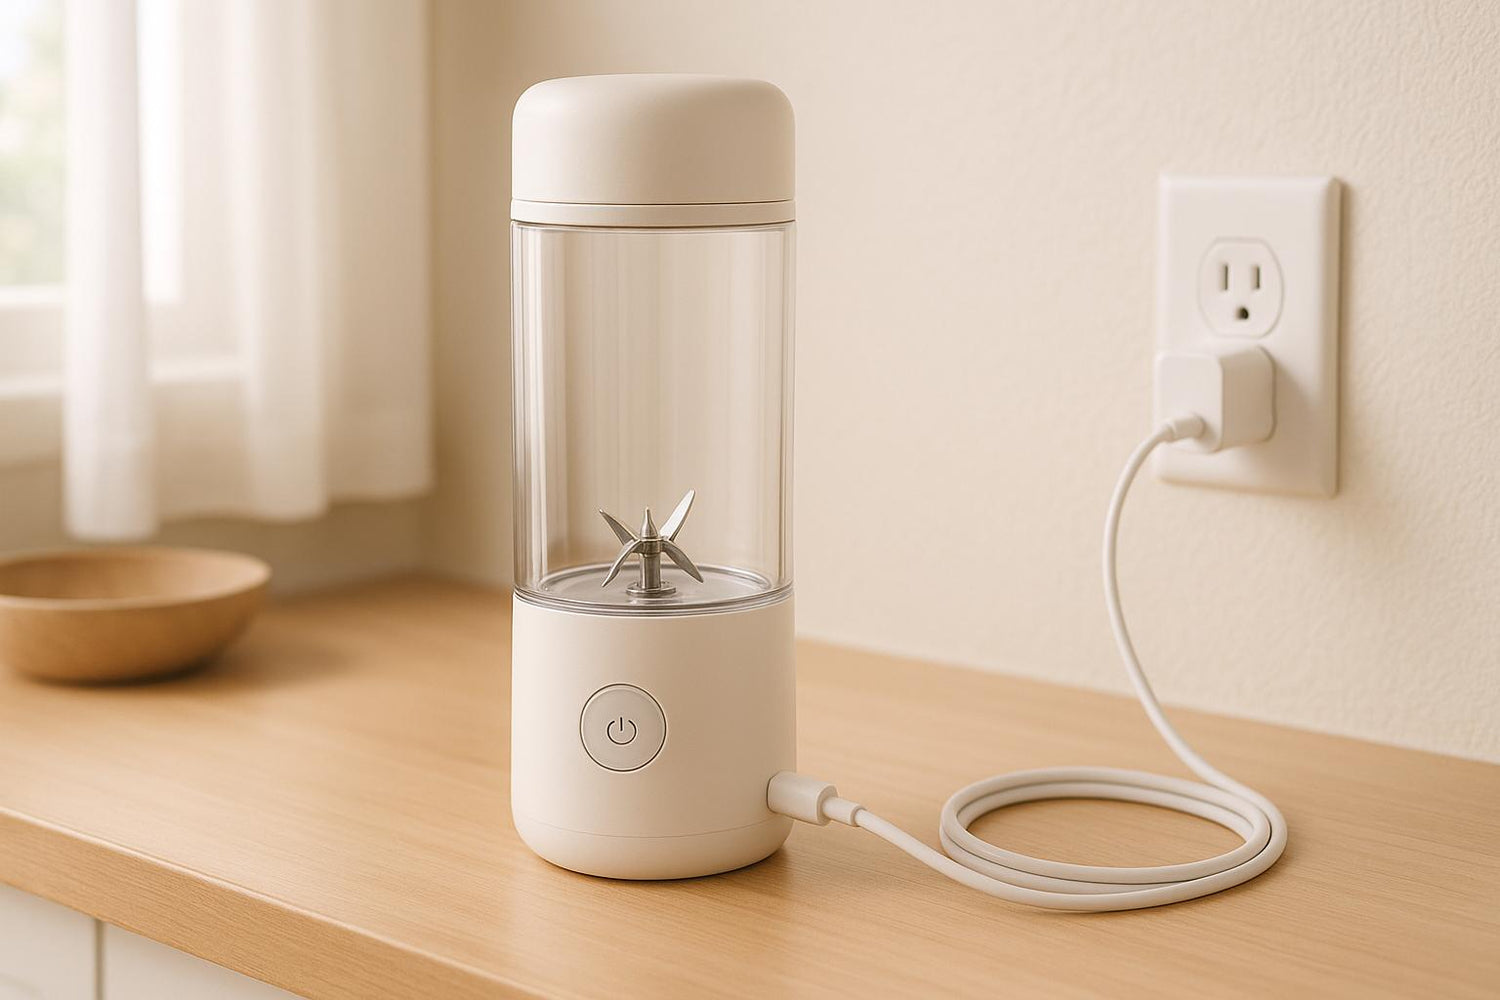
To keep your portable blender's battery in good condition, it's important to charge it safely. First, make sure the blender is completely dry before plugging it in - water and electricity are a dangerous mix. Always use the charging cable that came with your blender, as off-brand chargers can harm the battery or even cause safety issues .
Pay attention to the LED indicator lights. A red light usually means the battery is charging, a solid white or blue light signals a full charge, and flashing lights often indicate a low battery .
If your blender doesn't seem to charge, try swapping out the USB cable or wall adapter. This can help you determine whether the problem lies with a faulty cord or adapter.
Setting Up Your New Blender
When using your portable blender for the first time, it's crucial to give it a full charge. This helps the battery calibrate properly for better long-term performance. Use the charging cable provided with the blender, connect it to the charging port, and plug it into a power source. Wait until the indicator light shows the battery is fully charged - this usually takes 1 to 3 hours, depending on the model .
Tips for Faster Charging
Want to speed up the charging process? Here are a few tips:
- Use a wall adapter instead of a computer USB port for a steadier power supply.
- Keep the charging port clean by gently brushing it with a dry, soft brush.
If your blender overheats after heavy use, let it cool down for 15–30 minutes before charging. Overheating can activate safety features that temporarily stop the battery from charging. Once the battery is fully charged, unplug it to help maintain its health over time.
Still having issues with flashing indicator lights? Try resetting the blender's internal battery management system by holding down the power button for 10–15 seconds.
How To Use Your BlendJet Portable Blender - BlendJet 2 Tips and Tricks

sbb-itb-75eb6cf
Making Your Battery Last Longer
Adopting smart blending habits can help extend your blender’s battery life while also reducing strain on the motor. When combined with proper charging techniques, these practices can significantly improve your blender's overall performance and durability.
Smart Blending Practices
- Cut ingredients into smaller pieces: This reduces the effort required by the motor, helping it run more efficiently.
- Stick to the jar's maximum capacity: Overfilling can overwork the motor and drain the battery faster.
- Blend softer items when possible: Mixing frozen fruits, ice, or tough vegetables takes more energy than blending softer fruits or liquids.
- Use lower speed settings: Operating at lower speeds consumes less power, making the battery last longer.
- Avoid blending hard or abrasive materials: These can damage the blades and strain the motor unnecessarily.
BLENDi Portable Blender Charging Features

BLENDi portable blenders are designed with USB-rechargeable batteries, making them perfect for travel, work, or outdoor adventures. Each model ensures consistent charging performance, tailored to different power levels and capacities.
BLENDi Model Comparison
All BLENDi models fully charge in just 5 hours, making it simple to maintain a regular charging schedule no matter which model you pick. Here’s a quick breakdown of the options:
- BLENDi Lite: A compact 17-oz blender with 70W of power, ideal for basic smoothies and shakes, priced at $22.50.
- Pro+: Offers 120W of ice-crushing power in the same 17-oz size, available for $44.99.
- BLENDi X: Delivers 150W of power with a larger 24-oz capacity, priced at $59.99.
The consistent charging time across models makes it easy to develop a straightforward charging routine. Whether you opt for the Lite or the more advanced X model, you’ll enjoy dependable performance and streamlined battery management.
Battery and Performance Features
BLENDi blenders include a battery indicator that displays "FL" when fully charged. This handy feature helps prevent overcharging and keeps you informed about the charging status at a glance.
For safety, these blenders are designed to remain inoperable while charging. This ensures protection for both the battery and motor, promoting durability and reliability. Additionally, the Pro+ and BLENDi X models double as travel bottles, saving you the hassle of carrying extra containers.
Each blender is thoughtfully designed to include a complete charging kit, enhancing convenience.
Charging Accessories and Support
Every BLENDi blender comes with a USB-C charging cable. However, a wall adapter is not included, so you’ll need to use any compatible USB power source.
"It comes with a USB‑C charger for quick smoothies or post-workout protein shakes." – Bushra.K, Verified Purchase
For added convenience, the Pro+ and BLENDi X models come with travel cases to protect both the blender and its cable during transport.
Before your first use, BLENDi recommends charging the blender for 3–5 hours. This initial charge helps optimize battery life, ensuring maximum blends per charge and long-term performance from day one.
Key Points About Portable Blender Charging
Charging your portable blender is straightforward, but following BLENDi's specific guidelines for your model can make a big difference in how well your blender performs and how long the battery lasts. Here are some essential tips to keep in mind:
- Use the right power source: Always charge your blender at room temperature using a BLENDi-recommended power source. This ensures safe and efficient charging.
- Mind your charging habits: To keep the battery in good shape, avoid letting it drain completely. Once it's fully charged, unplug it - leaving it connected for too long can shorten the battery's lifespan.
- Blend smartly: How you use your blender also affects battery life. Shorter blend cycles put less strain on the battery, helping it last longer between charges.
- Store it properly: If you’re not planning to use your blender for a while, store it with around 50% charge in a cool, dry place. This small step helps preserve the battery's health and ensures it's ready to go when you are.
FAQs
What factors affect how long it takes to charge a portable blender?
Several things affect how long it takes to charge a portable blender. For starters, battery capacity is a big factor - larger batteries usually need more time to charge. Another key element is the power output of your charging source. For example, a wall adapter with higher output can charge your blender faster than a lower-output USB port.
To get the best results while charging, stick to a high-quality charging cable, avoid overcharging the battery, and try not to let it completely drain before plugging in. Typically, most portable blenders need around 3 to 5 hours to reach a full charge, though this can vary based on these factors.
How can I keep my portable blender's battery in good condition?
To keep your portable blender's battery in good shape, aim to maintain the charge level between 20% and 80%. Avoid letting the battery completely drain or leaving it plugged in after it’s fully charged for long stretches. If you’re storing the blender for an extended period, try to keep the battery at around 50% to 60% charge.
For a longer battery life, only charge it when the battery is running low, and avoid using the blender while it’s plugged in. Following these simple tips can help keep your blender dependable over time.
Why isn't my portable blender charging, and how can I fix it?
If your portable blender isn’t charging, the first thing to do is inspect the charging cable and port. Look for any signs of damage, debris, or loose connections. Make sure the cable is firmly plugged in, and if you have access to one, try using a higher-quality charging cable to rule out cable issues.
Next, check that the charging port is clean. Dust or residue can interfere with charging, so gently wipe the port with a dry cloth if needed. Also, try to avoid letting the battery drain completely or leaving it plugged in for too long, as both can reduce the battery's lifespan over time.
If these steps don’t solve the problem, you might need to replace the cable or charger. For more guidance, refer to the manufacturer’s troubleshooting guide or contact their customer support team for assistance.

0 comments