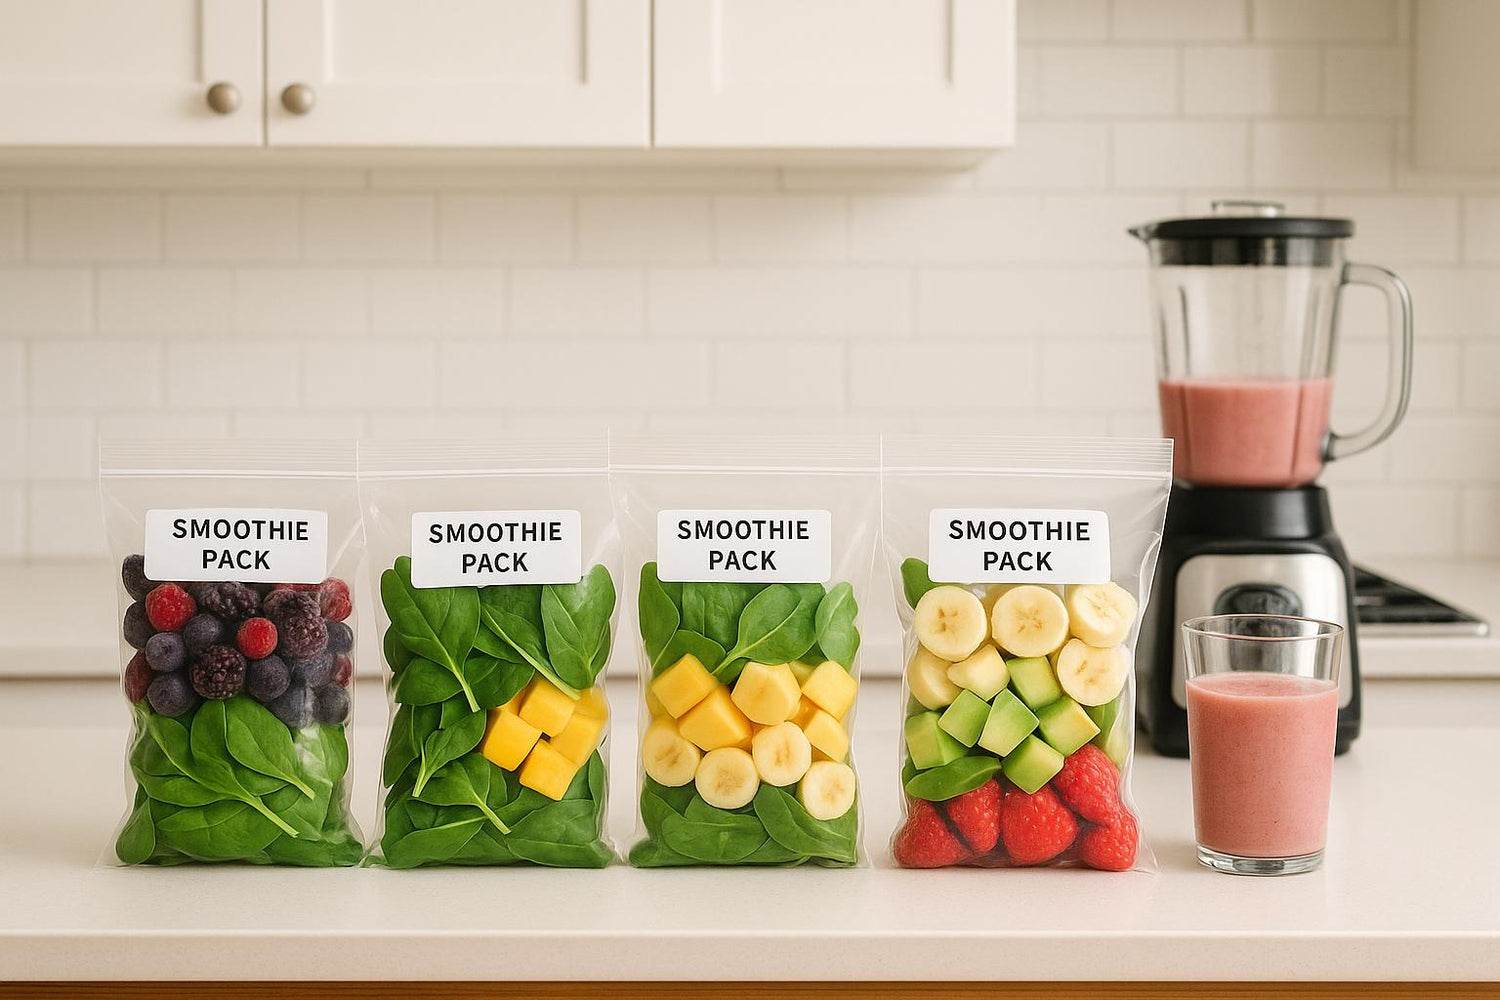
Prepping smoothie packs is a simple way to save time, reduce food waste, and enjoy nutritious drinks on busy days. Here's the quick rundown:
- What Are Smoothie Packs? Pre-measured, frozen combinations of fruits, greens, seeds, and other ingredients, ready to blend with your liquid of choice.
- Benefits: Saves time, ensures consistent nutrition, cuts food waste, and lowers costs when buying ingredients in bulk.
- How to Prep: Wash, chop, and portion ingredients. Freeze sticky items like nut butter on parchment first. Layer ingredients in reverse blending order for smoother results.
- Storage Tips: Use freezer-safe bags or containers, label with details, and consume within three months for best quality.
- Best Blender: Portable options like the BLENDi make it easy to blend anywhere, handling frozen ingredients with ease.
DIY Smoothie Packs | How to Meal Prep Your Smoothies
Selecting and Prepping Ingredients
The secret to making great smoothie packs lies in picking the right ingredients and preparing them the right way. With a thoughtful mix of fruits, vegetables, and extras, you can whip up smoothies that not only taste fantastic but also fit your dietary goals.
Choosing the Right Ingredients
A well-balanced smoothie pack starts with knowing which ingredients complement each other. Fruits are the heart of most smoothies, adding natural sweetness and essential nutrients. Berries are a go-to option because they freeze well and are packed with antioxidants. Bananas bring creaminess and potassium, while mangoes, pineapples, peaches, apples, and cherries add variety, fiber, and unique flavors.
Adding vegetables is a great way to step up the nutrition game. Did you know only about 10–12% of American adults get enough vegetables daily? Leafy greens like spinach and kale blend easily without overpowering the sweetness of fruits. Other options like carrots, cucumber, cauliflower, beets, and celery can introduce new flavors and nutrients to your mix.
Add-ins take your smoothie from good to great by making it more filling and nutritious. Plain, unsweetened yogurt adds protein and probiotics, while nut butters provide healthy fats. Seeds like flax, chia, and hemp are excellent sources of omega-3 fatty acids. And for a flavor boost without extra calories, spices like cinnamon, nutmeg, or ginger work wonders.
"When you make your own at home with ingredients that meet your nutrition needs and taste preferences, smoothies are a great way to get protein, fiber and other nutrients. Each fruit or vegetable offers something unique in terms of nutrients, so feel free to mix them up and get variety in your smoothie."
- Jordan Spivak, Dietitian at Sibley Memorial Hospital
Both fresh and frozen ingredients have their advantages. Frozen fruits and vegetables are convenient and create a thick, creamy texture. On the other hand, fresh ingredients frozen at their peak ripeness lock in maximum flavor and nutrients.
How to Prep Ingredients
Once you've chosen your ingredients, prepping them the right way ensures your smoothies blend smoothly and taste great. Start by thoroughly washing and drying all produce to remove dirt and prevent freezer burn. Leafy greens need extra attention since they can harbor bacteria.
Chop fruits and vegetables into 1-inch pieces for easier blending. This not only speeds up the process but also reduces strain on your BLENDi Portable Blender.
Bananas are a bit tricky because they tend to stick together when frozen. To avoid this, slice them into rounds and pre-freeze them on a baking sheet for about 2 hours before adding them to your packs. If they turn brown in the freezer, don’t worry - it won’t affect the flavor when blended.
For sticky ingredients like nut butter, pre-freezing is a game-changer. Scoop tablespoon-sized portions onto parchment paper and freeze for 2–3 hours before packing them.
When assembling your smoothie packs, layer the ingredients in reverse blending order. Start with fruits and vegetables at the bottom and place greens on top. This ensures the greens blend first, giving your smoothie a smoother texture.
Making Smoothie Packs for Different Diets
Smoothie packs are incredibly flexible and can be customized to fit a variety of diets.
For vegan smoothie packs, focus on plant-based proteins and non-dairy liquids. Pair hemp seeds, flax seeds, and chia seeds with fruits and vegetables you enjoy. If you’re using protein powders, make sure they’re certified vegan.
If you’re looking for high-protein packs, try a mix of frozen banana, strawberries, oats, hemp seeds, peanut butter, flaxseed, and dates. Blend these with non-dairy milk for a filling, protein-rich smoothie. Adding vegan protein powder can further boost the protein content.
For those on a keto diet, keep an eye on carbs. Replace high-carb fruits like bananas with creamy avocado, and stick to low-carb berries. A typical keto-friendly mix might include blueberries, avocado, spinach, hemp seeds, and unsweetened almond milk, with a sprinkle of cinnamon for flavor.
Here are a couple of ideas for specialized nutrition plans:
- Detox Protein Pack: Combine blueberries, spinach, ginger, grapefruit, pineapple, chia seeds, frozen coconut milk, and collagen protein.
- Energizing Pack: Use unsweetened cocoa powder, almond milk, collagen peptides, frozen peanut butter, banana, gluten-free rolled oats, and flaxseed.
The key is to match your ingredients to your nutritional goals while keeping flavors you love. Experiment with different combinations to find what works best for you. Once your ingredients are prepped and tailored to your needs, you’re ready to move on to assembling and freezing your smoothie packs.
Assembling and Storing Smoothie Packs
With all your ingredients prepped, it's time to assemble your smoothie packs. How you organize and store these packs can greatly impact their freezing quality, shelf life, and ease of blending when you're ready to whip up a smoothie.
How to Assemble Smoothie Packs
The key to a well-prepped smoothie pack is layering. Start by placing fruits and vegetables at the bottom of your container, followed by powders or seeds in the middle, and finish with leafy greens on top. This arrangement helps everything blend more smoothly when the time comes.
For sticky ingredients like nut butter, sandwich them between layers of fruits or vegetables. For example, place a layer of fruit, add your nut butter, and then cover it with more fruit or veggies. This prevents the nut butter from freezing into a solid clump that’s hard to blend.
Labeling your packs is equally important. Use a permanent marker or freezer-friendly labels that won’t peel off in cold conditions. Include details like the pack name, the liquid to add (e.g., 1 cup almond milk), serving size, and the preparation date. This way, you can easily keep track of your packs and use the older ones first.
Freezing and Storage Tips
To avoid freezer burn, make sure your packs are sealed tightly to keep out air and moisture. If you’re using freezer bags, press out as much air as possible before sealing. When freezing, lay the packs flat on a baking sheet or another flat surface for the first 24 hours. This helps the ingredients freeze evenly and saves space. Once frozen solid, you can store them upright for easier access and organization.
For the best flavor and texture, aim to use your smoothie packs within three months. While they’ll still be safe to consume after that, fruits may develop ice crystals, and the flavors could become less vibrant. Also, ensure any cooked or warm ingredients are completely cooled before freezing to avoid partial thawing of nearby items and loss of freshness.
Choosing Storage Containers
The type of container you use can make a big difference in your smoothie prep experience. Each option has its own advantages and drawbacks, so choose based on your needs and habits.
| Container Type | Pros | Cons | Best For |
|---|---|---|---|
| Freezer Bags with Stand-Up Bottom | Affordable, easy to fill, freezes flat, stands upright | Single-use, can tear, less eco-friendly | Beginners, occasional prep |
| Reusable Silicone Bags | Durable, eco-friendly, airtight seal, stand upright | Higher upfront cost, need several for batch prep | Regular users, environmentally conscious |
| Freezer-Friendly Cups | Sturdy, stackable, kid-friendly, good for portion control | Not fully airtight, shorter shelf life | Families, grab-and-go convenience |
| Vacuum Sealer Bags | Maximum freshness, compact storage, great for bulk prep | Requires special equipment, not reusable, higher cost | Serious meal preppers, long-term storage |
Freezer bags with stand-up bottoms are a go-to choice for many. They’re inexpensive, easy to fill, and can be laid flat to save freezer space. Once frozen, you can store them upright for easy access.
Reusable silicone bags are a great eco-friendly option. They provide a strong seal, stand upright for filling, and can be reused multiple times. However, if you’re prepping large batches, you’ll need a good supply of these bags.
Freezer-friendly cups are perfect for families. They’re sturdy, stackable, and allow for easy portioning, making them ideal for kids who like having their own smoothie pack. Keep in mind, though, that they may not keep ingredients fresh as long as other options.
For those serious about meal prepping, vacuum sealer bags are the way to go. By removing almost all air, they keep ingredients fresh for longer and save space in your freezer. However, they do require an initial investment in a vacuum sealer and ongoing bag costs.
No matter which container you choose, make sure it’s specifically designed for freezer use. Standard storage bags or containers can crack in freezing temperatures, leading to freezer burn and wasted ingredients. Once your smoothie packs are ready and stored, you’re all set for the next step: blending them into a delicious smoothie.
sbb-itb-75eb6cf
Blending and Serving Smoothie Packs
Your smoothie packs are prepped and ready, but getting that perfect texture requires the right blending technique. With your BLENDi Portable blender, you can whip up a smooth, refreshing drink in no time.
How to Blend Smoothie Packs
First things first - make sure your BLENDi is fully charged. Remember, it won’t operate while plugged in and charging. Take your smoothie pack out of the freezer and let it soften for a few minutes. This small step makes a big difference in achieving a creamy texture.
Next, securely lock the clear jar onto the base. For Pro+ and Lite models, you’ll know it’s connected when "88" shows on the display. If you’re using the X model, look for the green light. Add your smoothie pack ingredients to the jar, then pour in your favorite liquid. Keep the jar under 80% full to avoid overloading the motor.
Press the power button once to start blending. The Pro+ and Lite models blend for 20 seconds, while the X model runs for 30 seconds. If the texture isn’t quite there, just run another cycle.
For tougher blending tasks, like breaking down frozen chunks, the BLENDi X offers a Pulse Mode. Double-tap the power button to activate it, then press and hold to pulse. This feature is handy for customizing your smoothie’s consistency.
If you encounter any issues, reduce the amount of ingredients and try again. The BLENDi Pro and Pro+ are great for frozen fruits, while the X model - with its 150W motor - handles thicker recipes and larger servings effortlessly.
"I didn't think a portable blender could handle frozen fruit, but this one blew me away. It crushed ice, blended my smoothie in 30 seconds, and didn't struggle once!" - Maeve S., Verified Buyer
Tips for Better Smoothies
Want to level up your smoothie game? Here’s how:
- Cut ingredients into smaller pieces before freezing. This reduces strain on the motor and ensures even blending.
- When assembling smoothie packs, layer softer ingredients closer to the blades. This helps create the vortex needed for a smooth blend.
- Add liquid last when blending. Start with less than you think you’ll need - you can always add more later. If it’s too thick, pour in more liquid and blend again. Too thin? Add frozen fruit or ice and blend until it’s just right.
For fruits with high water content, like berries or melons, thaw them slightly before blending to avoid clumps. You can thaw them in the fridge for a few hours, place them in a bowl of warm water for a few minutes, or microwave briefly if you’re in a rush. Just be careful not to overheat.
If clumps persist, try using fruits like bananas or avocados. These blend more smoothly when frozen and add a creamy texture to your smoothie. With properly prepped ingredients, the BLENDi Pro can handle frozen fruit in under 10 seconds.
Once blended, drink your smoothie right away for the best taste and texture. Smoothies are freshest when consumed immediately, but if you need to store them, add a splash of lemon or lime juice to slow oxidation. Store in an airtight container filled to the brim and refrigerate for up to 48 hours.
If separation happens during storage, just shake the container or re-blend with a bit of liquid and ice. For longer storage, freeze smoothies in airtight containers for up to three months. When ready to enjoy, thaw and re-blend, adding liquid as needed.
With these tips, your BLENDi Portable blender makes crafting the perfect smoothie a breeze. Up next, explore troubleshooting tips and advanced techniques to take your blending experience to the next level.
Troubleshooting and Pro Tips
Now that we've covered the essentials of ingredient prep and storage, it's time to refine your smoothie-making skills. Most issues with smoothie packs are easy to fix, and with a few expert techniques, your BLENDi Portable blender can become your go-to tool for perfect smoothies every time.
Common Problems and Solutions
One common issue is ending up with a chunky or lumpy texture. This often happens when ingredients aren't cut evenly, layered properly, or when frozen fruit sticks together. To avoid this, cut your ingredients into small, uniform pieces before freezing. When blending, always add your liquid first to help the blades move freely, then layer softer ingredients on top, followed by frozen items. This creates a smooth blending process.
Still dealing with chunks? Try pulsing briefly and pausing to let the ingredients settle. If you're using the BLENDi X, the Pulse Mode is a great help - just double-tap the power button to break down stubborn pieces with controlled pulses.
A watery or thin smoothie is another common hiccup. This usually happens when you add too much liquid or use ice instead of frozen fruit. To fix this, blend in extra frozen fruit or a small amount of ice to thicken it up. On the flip side, if your smoothie is too thick, gradually add more liquid until you reach the right consistency.
Overfilling your blender can also cause problems. To prevent motor strain and ensure even blending, keep the jar no more than 80% full. For larger smoothie packs, blending in two smaller batches can help.
If you notice a gritty texture from greens or powders, add these ingredients gradually and use short pulses to mix them in without over-blending. This keeps the texture smooth and consistent.
With these basics covered, let's dive into some advanced tips to take your smoothie prep to the next level.
Advanced Smoothie Prep Tips
Want to make your smoothie routine even easier? Try pre-freezing your fruit in a single layer before storing it in packs. This prevents clumping and makes blending a breeze.
Another tip: Pre-portion your add-ins - like protein powder, chia seeds, or supplements - into small containers. This saves time and eliminates the need for daily measuring. For a smoother blend, let frozen fruit thaw slightly (about 5–10 minutes at room temperature) or soak it in cool water for a few minutes before blending.
Getting More from Your BLENDi Blender
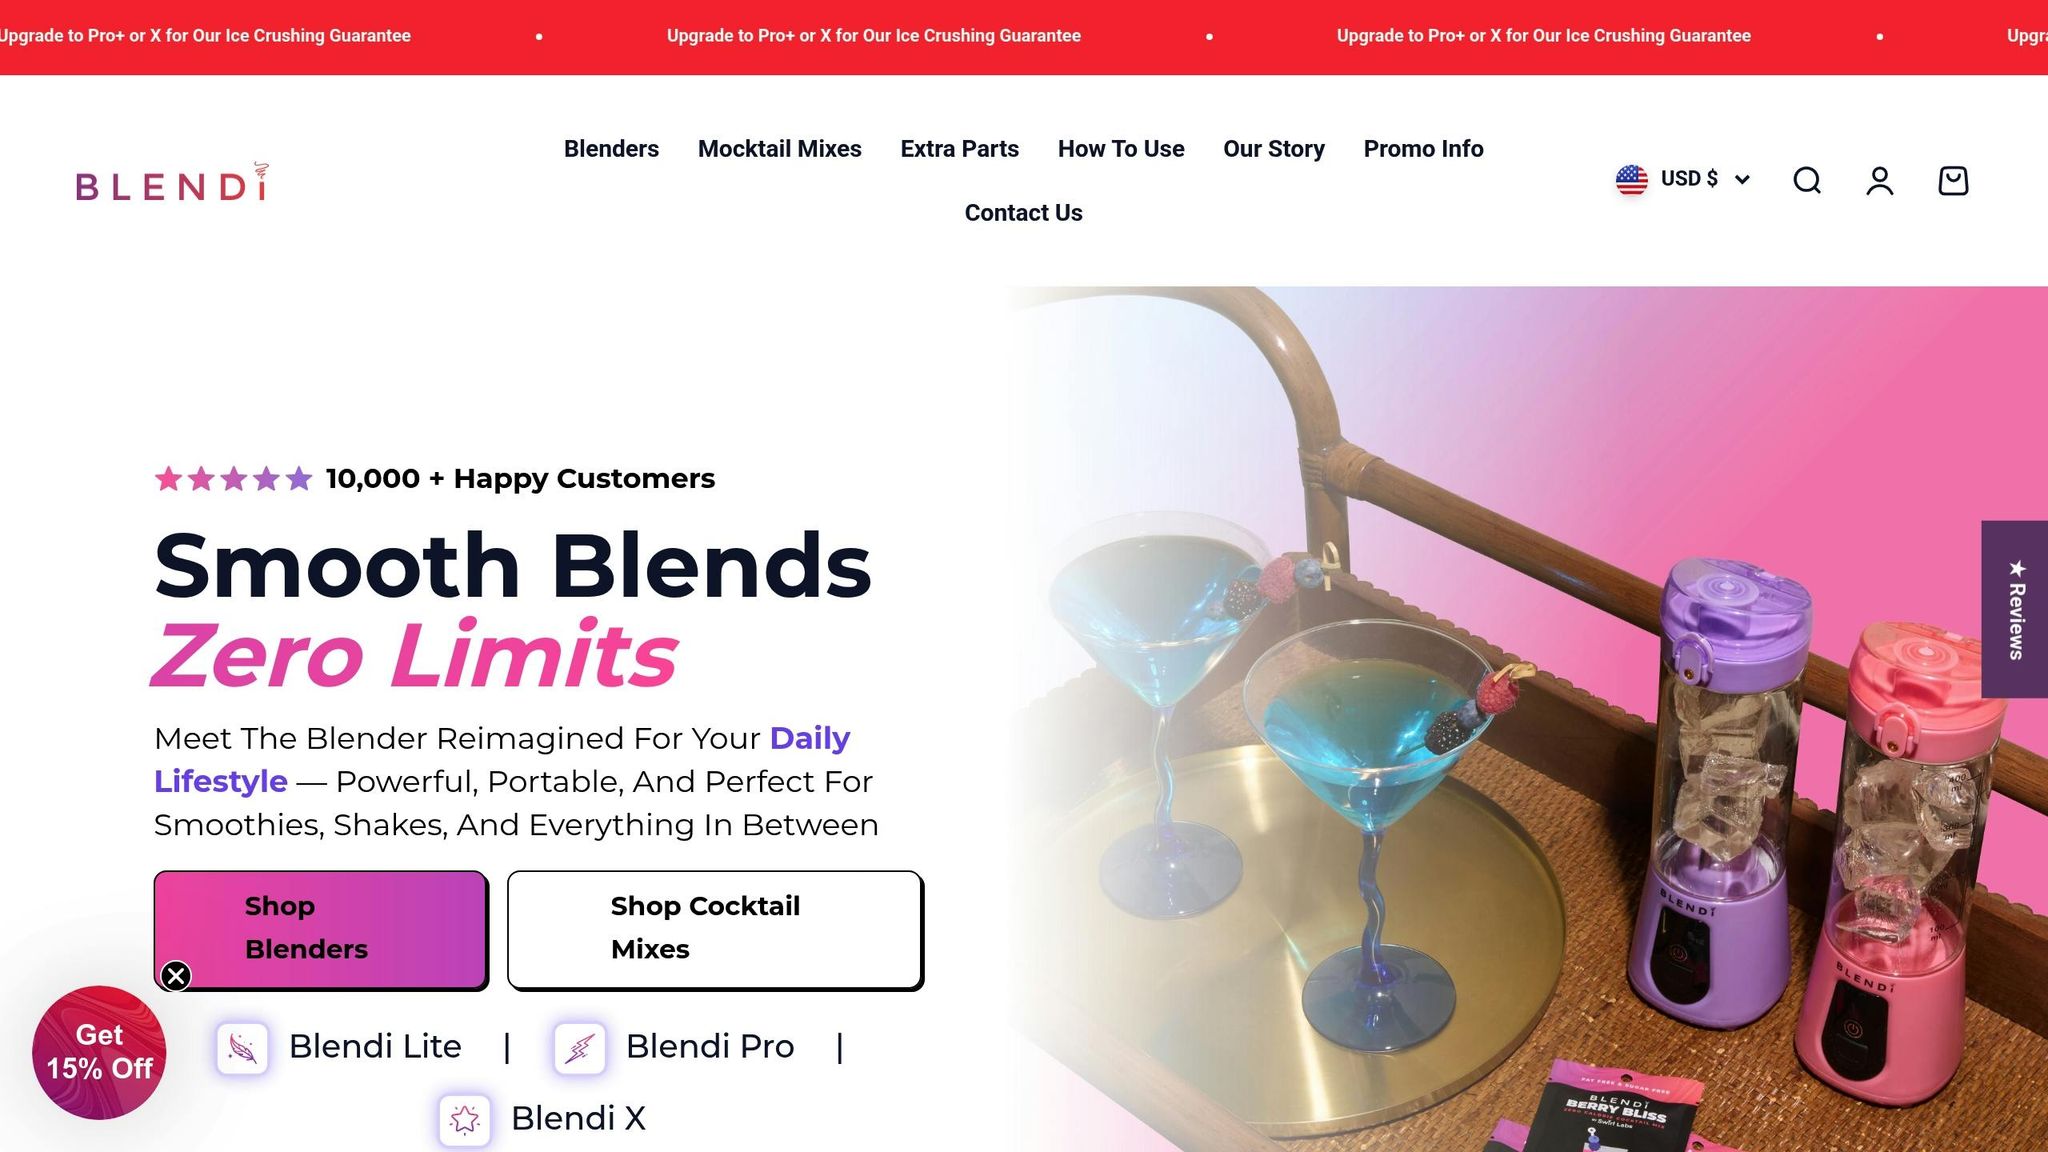
Your BLENDi Portable blender is built to handle smoothie packs like a pro. Models like the BLENDi Pro+ and BLENDi X are especially great for crushing ice, thanks to their powerful motors and advanced blending modes. For example, the BLENDi X features a 150W motor and dual blending modes, giving you more control over texture and consistency.
That said, there are a few things to avoid. Don’t blend hot liquids, whole spices, large chunks of frozen fruit (anything over 1 inch), or thick, sticky foods like nut butters without enough liquid. These can strain the motor and lead to uneven results.
To keep your blender in top shape, rinse the jar and blade right after each use to prevent buildup, and clean the base with a damp cloth - never submerge it in water. It's also a good idea to check the blade assembly every couple of months to ensure it's secure and sharp.
When blending thicker mixtures, use short bursts instead of running the blender continuously. If the mixture gets stuck, pause and stir before continuing.
Thanks to its portability, your BLENDi lets you enjoy smoothies anywhere - at home, at work, or even outdoors. Pack your frozen smoothie packs in a small cooler for travel or adventures, and let them thaw slightly before blending for the best results.
With these troubleshooting tips and advanced techniques, you'll be well on your way to mastering smoothie prep and getting the most out of your BLENDi Portable blender.
Conclusion
Smoothie packs take the hassle out of busy mornings. By prepping and labeling your ingredients in freezer-safe containers, you can store them for up to three months. When you’re ready, just grab a pack, add your favorite liquid, and blend. It’s that easy to have a nutritious smoothie ready in no time.
These packs aren’t just about convenience - they’re also a smart way to boost nutrition and minimize waste. Stock up on frozen fruit in bulk to save money, make use of overripe fruit that might otherwise end up in the trash, and freeze extras like nut butter or Greek yogurt in ice cube trays for perfectly portioned add-ins.
Pair your smoothie packs with the BLENDi Portable blender to enjoy fresh blends wherever you go. Whether you choose the BLENDi Lite for everyday use, the Pro+ for crushing ice, or the BLENDi X for advanced blending, these portable options let you take your frozen packs to the office, on trips, or even outdoor adventures. Wherever life takes you, a fresh smoothie is just a blend away!
FAQs
What’s the best way to keep my smoothie packs fresh and flavorful during storage?
To ensure your smoothie packs stay fresh and tasty, store them in airtight containers such as glass jars, BPA-free plastic bags, or stainless steel containers. This keeps the ingredients from oxidizing and prevents any unwanted odors from seeping in.
When freezing, lay the packs flat to save space and preserve the quality of the ingredients. Aim to use your smoothie packs within three months for the best flavor. When it’s time to enjoy, just toss the contents into a blender for a smooth and refreshing drink. If you’re always on the move, a portable blender like the BLENDi can make blending super quick and hassle-free!
How can I customize smoothie packs to meet specific dietary needs like vegan or keto?
Customizing smoothie packs to match dietary preferences, like vegan or keto, can be both easy and enjoyable! For a vegan-friendly blend, go for plant-based choices such as almond milk, coconut milk, vegan protein powder, or nutrient-rich seeds like chia and hemp. If you're following a keto plan, prioritize healthy fats like avocado, coconut oil, and unsweetened nut butters, while sticking to low-carb options like berries and leafy greens.
By mixing and matching ingredients to suit your needs, you can whip up smoothie packs that not only support your dietary goals but also taste amazing. Pro tip: A portable blender like the BLENDi makes it super convenient to enjoy your custom smoothies wherever you go!
How can I fix it if my BLENDi Portable blender has trouble blending frozen ingredients?
If your BLENDi Portable Blender struggles with blending frozen ingredients, here are a few tips to make the process smoother:
- Add extra liquid: A bit more liquid can help the blades move with ease.
- Chop ingredients into smaller pieces: Breaking down larger frozen items can reduce the strain on the blender.
- Let ingredients soften slightly: Allow frozen items to sit out for a minute or two before blending.
Additionally, ensure your blender is fully charged, and check that the blades are clean and in good shape. These simple adjustments can make a big difference in achieving a perfect blend!

0 comments