Cleaning your travel blender doesn’t have to be a hassle. With just warm water, dish soap, and 30 seconds, you can keep your blender spotless and ready for your next smoothie. Here’s how:
- Rinse Immediately: Prevent residue from sticking by rinsing the blender cup and lid with warm water right after use.
- Add Soap and Water: Fill the cup 1/4 full with warm water and add a drop of dish soap.
- Blend for 20-30 Seconds: Secure the lid and blend to clean the blades and walls effectively.
- Rinse and Dry: Empty the soapy water, rinse thoroughly, and dry all parts to avoid bacteria or mold.
For tougher stains or odors, use baking soda or vinegar. Regular cleaning keeps your blender hygienic, odor-free, and efficient.
nutribullet Portable How to clean your personal blender

What You Need to Clean Your Blender
Keeping your BLENDi Portable Blender clean is straightforward and doesn’t require any fancy tools or pricey cleaners. In fact, everything you need is probably already in your kitchen. Here’s a quick rundown of what to use and how to get your blender spotless in just seconds.
Warm Water
Warm water is your best friend when it comes to cleaning. It’s much more effective at breaking down residue compared to cold water. Use about 1/4 cup of warm water - just enough to cover the blades. This helps dissolve leftover fruit sugars or sticky protein powder residue with ease.
Liquid Dish Soap
A drop or two of liquid dish soap is all you need. Regular dishwashing liquid works perfectly to cut through oily messes from ingredients like nut butters, avocado, or milk-based protein shakes. No need for anything fancy - just grab the soap you already have by your sink.
Helpful Cleaning Tools
While the blender’s self-cleaning cycle does most of the heavy lifting, a few extra tools can make tackling stubborn messes even easier:
- Bottle Brush: Perfect for reaching tight spots inside the blender jar.
- Crevice Brush: Handy for cleaning around the lid and seals where buildup can hide.
- Silicone Spatula: Great for scraping out thick residues before starting the cleaning cycle.
- Microfiber Towel: Use it to dry the parts quickly, avoiding water spots or lint for a clean finish.
With these simple items, you can keep your blender spotless and ready for your next use without any hassle.
How to Clean Your Blender in 4 Steps
Cleaning your BLENDi Portable Blender is quick and easy - it only takes about 30 seconds! With your water, dish soap, and tools ready, follow these four simple steps to keep your blender spotless:
Rinse Right After Use
Start by rinsing the blender cup and lid with warm water immediately after use. This prevents leftover ingredients from drying and sticking, which can make cleaning much harder later on.
"The best way to avoid tough-to-clean residue is to clean it immediately after use." - Momo Lifestyle
Once rinsed, you're ready for the next step.
Add Water and Dish Soap
Fill the blender cup about 1/4 to 1/2 full with warm water - this gives the soapy water enough room to swirl around. Add just a drop or two of liquid dish soap; you don’t need much to get the job done.
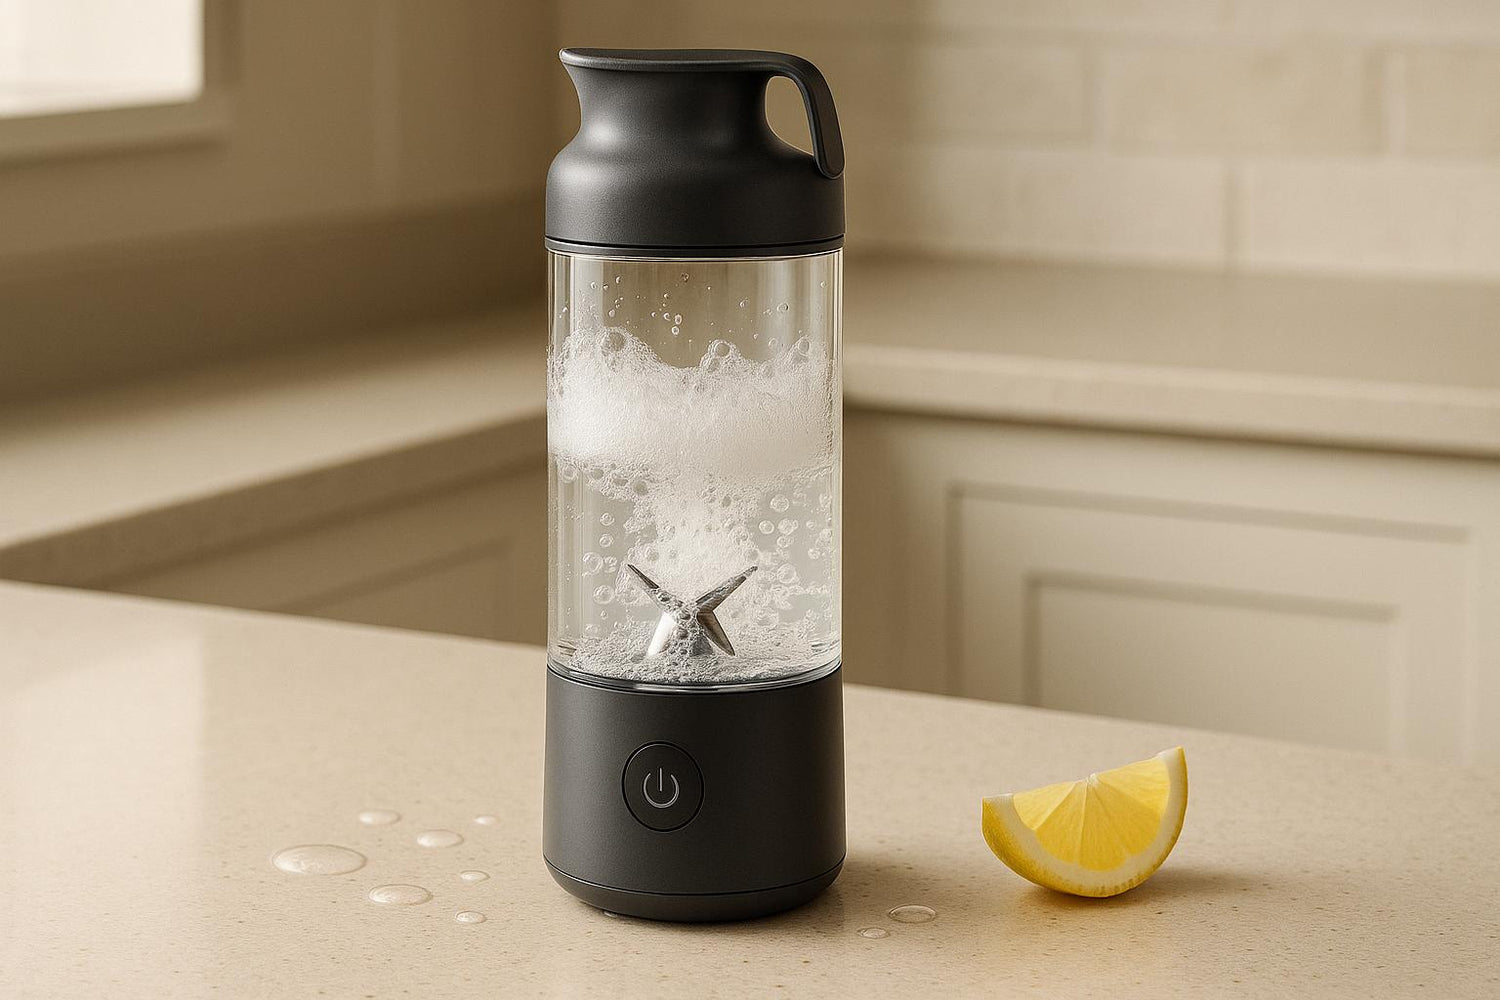
Blend for 20-30 Seconds
Secure the lid tightly and blend for 20–30 seconds. The spinning blades create a powerful cleaning motion that scrubs every corner of the blender cup, loosening food particles and cleaning the blades effectively.
"The most effective way to clean a blender immediately after use also happens to be the easiest -- by blending! Give the blender a quick rinse and then add dish soap and warm water, return it to the base with the lid on, and blend the soapy water for a few seconds. This will pull food off the sides and the blades efficiently." - Grebe's
As the residue loosens, you’ll see the water turn cloudy. Blend for the full 30 seconds if needed.
Rinse and Dry
Pour out the soapy water, then rinse the blender thoroughly with clean water. Don’t forget to rinse the lid and any removable parts, like the sealing ring. Use a microfiber towel to dry everything or let it air-dry completely - paying extra attention to the blade area and lid to avoid bacteria buildup.
And that’s it! Your BLENDi Portable Blender is clean, fresh, and ready for your next smoothie or shake. This quick routine keeps your blender in top shape and ensures it’s always ready to go.
Quick Cleaning Tips for Travel
Traveling often means limited access to full kitchen setups, whether you're staying in a hotel, camping, or working in an office. But keeping your BLENDi Portable Blender clean and ready to use doesn’t have to be a hassle. Here are some simple, travel-friendly cleaning tips to keep it hygienic on the go.
Soak It for Later
When cleaning right away isn’t an option, fill the blender cup with water, add a drop of dish soap, secure the lid, and let it soak. This helps prevent residue from sticking to the blades or cup walls. If you’re in a rush, give it a quick rinse first and then let it soak until you can give it a proper wash.
Brush Away Stubborn Residue
Sometimes, thicker ingredients leave behind stubborn bits even after rinsing. A small cleaning brush can come in handy for these situations. Focus on the blades and any hard-to-reach areas where food might hide. Just be sure to keep the motor base dry while cleaning.
Banish Odors with Baking Soda
If strong flavors like garlic, onions, or spices leave behind lingering smells, baking soda is your best friend. Mix half a teaspoon of baking soda with warm water in the blender cup, let it sit for about 10 minutes, then blend the solution for 20–30 seconds. Rinse thoroughly with clean water afterward, and your blender will smell fresh and be free of any sticky residue.
sbb-itb-75eb6cf
Daily Care and Hygiene Tips
Taking a few extra minutes each day to care for your blender can make a world of difference. It helps prevent buildup, keeps things clean, and ensures your blender lasts longer. These simple habits work hand-in-hand with the quick 30-second cleaning method to maintain performance and hygiene.
Keep the Motor Base Dry
The motor base houses electrical components that are sensitive to water. Submerging it or running it through the dishwasher can cause irreversible damage. Instead, gently wipe it with a damp cloth to clean up spills.
"The base is not waterproof. Wipe it with a damp cloth and avoid submerging it. Keep all electrical components dry and clean."
Always turn off the blender before cleaning, and ensure the USB charging port is securely closed when wiping the base. Use a soft towel to dry it thoroughly. For stubborn grease, mix a little baking soda with vinegar, scrub gently, and then wipe it dry.
Don’t forget to check the motor vents. Dust and debris can block airflow, leading to overheating and reduced performance. Regularly cleaning these vents ensures the motor stays in good shape.
Clean After Every Use
Once the motor base is taken care of, move on to the removable parts. Cleaning these immediately after use is one of the best habits you can develop. It prevents residue from hardening and keeps bacteria at bay.
"But cleaning your blender pitcher after each use is important so that old food smells don't settle into the plastic."
Rinse the pitcher and other parts right after blending. This not only makes cleaning easier but also prevents strong flavors from lingering and affecting future blends. The 30-second cleaning method works best when ingredients are still fresh and easy to rinse off. Waiting too long turns a quick rinse into a tougher scrubbing session.
Dry All Parts Completely
Proper drying is just as important as cleaning. Leaving moisture on any part of the blender can lead to mold and bacteria growth. Make sure every component - whether it’s the cup, lid, blade assembly, or motor base - is completely dry before storing.
Tonya Harris, an expert on toxins and author of The Slightly Greener Method, emphasizes the risks of improper drying:
"Without regular cleaning and drying, mold can spread throughout, including hard-to-reach areas."
After washing, shake off excess water and use a clean towel to dry each part thoroughly. Alternatively, let them air dry. For the best results, place the blender cup upside down on a towel or drying rack to help drain any remaining water. Leave the lid slightly open or store it separately to allow airflow and avoid trapping moisture.
Never reassemble the blender with damp parts. Moisture creates the ideal environment for bacteria and mold, which can compromise both hygiene and performance. By following these drying steps, you’ll keep your blender in top condition while sticking to a quick and efficient cleaning routine.
Deep Cleaning Your Blender
Regular use of your blender calls for more than just daily rinsing. Every so often, a deep cleaning is essential to keep it running smoothly and hygienically. You'll know it's time for a deep clean if you notice persistent odors, discoloration, or limescale buildup from hard water.
Tonya Harris, an award-winning toxin expert and author of The Slightly Greener Method, shares her advice on timing these sessions:
"Deep clean after every 3-4 uses, or once a week, if it's used daily or almost daily."
For blenders that see less action, deep cleaning every few weeks should suffice.
Skipping deep cleaning can lead to serious hygiene problems. Residual food particles can collect around the gasket and blades, reducing your blender's performance. Worse, without proper cleaning and drying, bacteria and mold can spread into hard-to-reach areas.
Remove Tough Stains and Odors
When your blender starts showing signs of wear, like stains or lingering smells, these methods can help bring it back to life.
- For stains and odors: Fill the jar halfway with warm water, add 1/4 cup vinegar and one tablespoon of baking soda, and let the mixture fizz for 10 minutes. Afterward, scrub gently. For tougher stains, make a baking soda paste, apply it directly, let it sit for 30 minutes, and scrub again.
- For cloudy spots and smells: Add 1/4 cup vinegar to warm water and run the blender for 20-30 seconds. Vinegar's acidity works wonders on mineral deposits and odors.
- For hard water deposits: Fill the jar with equal parts vinegar and warm water. Let it sit for 15-20 minutes, then scrub with a soft brush and rinse thoroughly.
Don't overlook the blade assembly. If your blender allows, unscrew the blade base and soak it in warm water with a few drops of mild dish soap. Use a soft dish brush to clean both the top and bottom of the blades. For stubborn residue, apply a baking soda paste directly to the blades and scrub. Always use a brush - never your fingers - to avoid injury when cleaning under the blades.
If the blade assembly is stuck and won't budge, try dripping a little vegetable oil around the outside edge where the jar screws onto the base. This can help loosen it up.
For an extra layer of sanitization, blend 1 cup of warm water with 3% hydrogen peroxide (enough to cover the blades) and 1/2 teaspoon of Branch Basics Concentrate for 20 seconds. Be sure to rinse thoroughly afterward.
Avoid Harsh Cleaners
Once you've tackled the stains and odors, it's important to protect your blender by sticking to gentle cleaning products.
Avoid using bleach, harsh detergents, or anything scented or oily on your blender. Abrasive sponges or scouring pads can scratch the jar, creating places for bacteria to hide. Stick to soft brushes, cloths, or non-abrasive sponges for cleaning.
Handle the blade assembly with care, and consider wearing rubber gloves for better grip and safety. After cleaning, make sure the blades are thoroughly dried to prevent rust, especially if your blender has metal components. Proper care will keep your blender in great shape for years to come.
Conclusion
Keeping your BLENDi Portable blender clean is simple and quick with our 30-second routine. A little warm water, a drop of dish soap, and a quick blend are all it takes to keep your blender hygienic and running smoothly.
Regular cleaning not only prevents unpleasant odors from lingering in the plastic but also ensures your blender stays efficient and ready for use. When you're on the go, even a quick rinse or soak can make a big difference until you’re able to give it a proper clean.
For tougher stains or persistent odors, occasional deep cleaning can help maintain your blender’s performance. Just remember to skip harsh cleaners or abrasive pads that might damage the jar.
FAQs
What can I do to clean my travel blender if I don’t have warm water available?
If you don't have access to warm water, cleaning your travel blender can still be quick and easy. Just pour in some cold water, add a drop of dish soap, secure the lid, and pulse for around 30 seconds. This simple trick helps break up any leftover residue, keeping your blender fresh until you can clean it more thoroughly. Be sure to rinse it out right after pulsing to get rid of any soap residue.
How can I keep my travel blender fresh and odor-free while on the go?
To keep your travel blender smelling fresh and free from odors, rinse it well with warm water right after each use. For a more thorough clean, you can mix a bit of water with white vinegar or baking soda and let the blender soak for a few minutes. After cleaning, ensure every part is completely air-dried before putting it away. This prevents any leftover moisture, which can lead to unpleasant smells. Keeping up with regular cleaning and drying will keep your blender in top shape and ready for your next use!
Do I need to deep clean my travel blender if I don’t use it often?
Deep cleaning your travel blender is smart to do every 3–4 uses, especially if you've blended something sticky or tough to clean. This not only ensures good hygiene but also helps your blender stay in top shape for longer.
If you’re only using your blender occasionally for simple tasks - like blending dry or easy-to-clean ingredients - a quick rinse or wipe might suffice. Just be sure to check for and remove any residue or dust that could accumulate over time.

1 comment
Thanks on behalf of www.kitchenstuffplus.com for sharing these helpful deep-cleaning tips!
This advice can make a big difference in keeping your blender in top condition. Regular deep cleaning helps remove hidden food residue that daily rinsing might miss, especially around the blades and gasket. By doing this every few uses, you prevent buildup that can affect performance, ensuring your blender runs smoothly and efficiently.
It also plays an important role in hygiene—eliminating bacteria, mold, and lingering odors that can develop over time. Plus, addressing issues like discoloration or limescale early keeps your blender looking better and lasting longer. Overall, these tips help extend the life of your appliance while making sure everything you prepare stays clean and safe.