


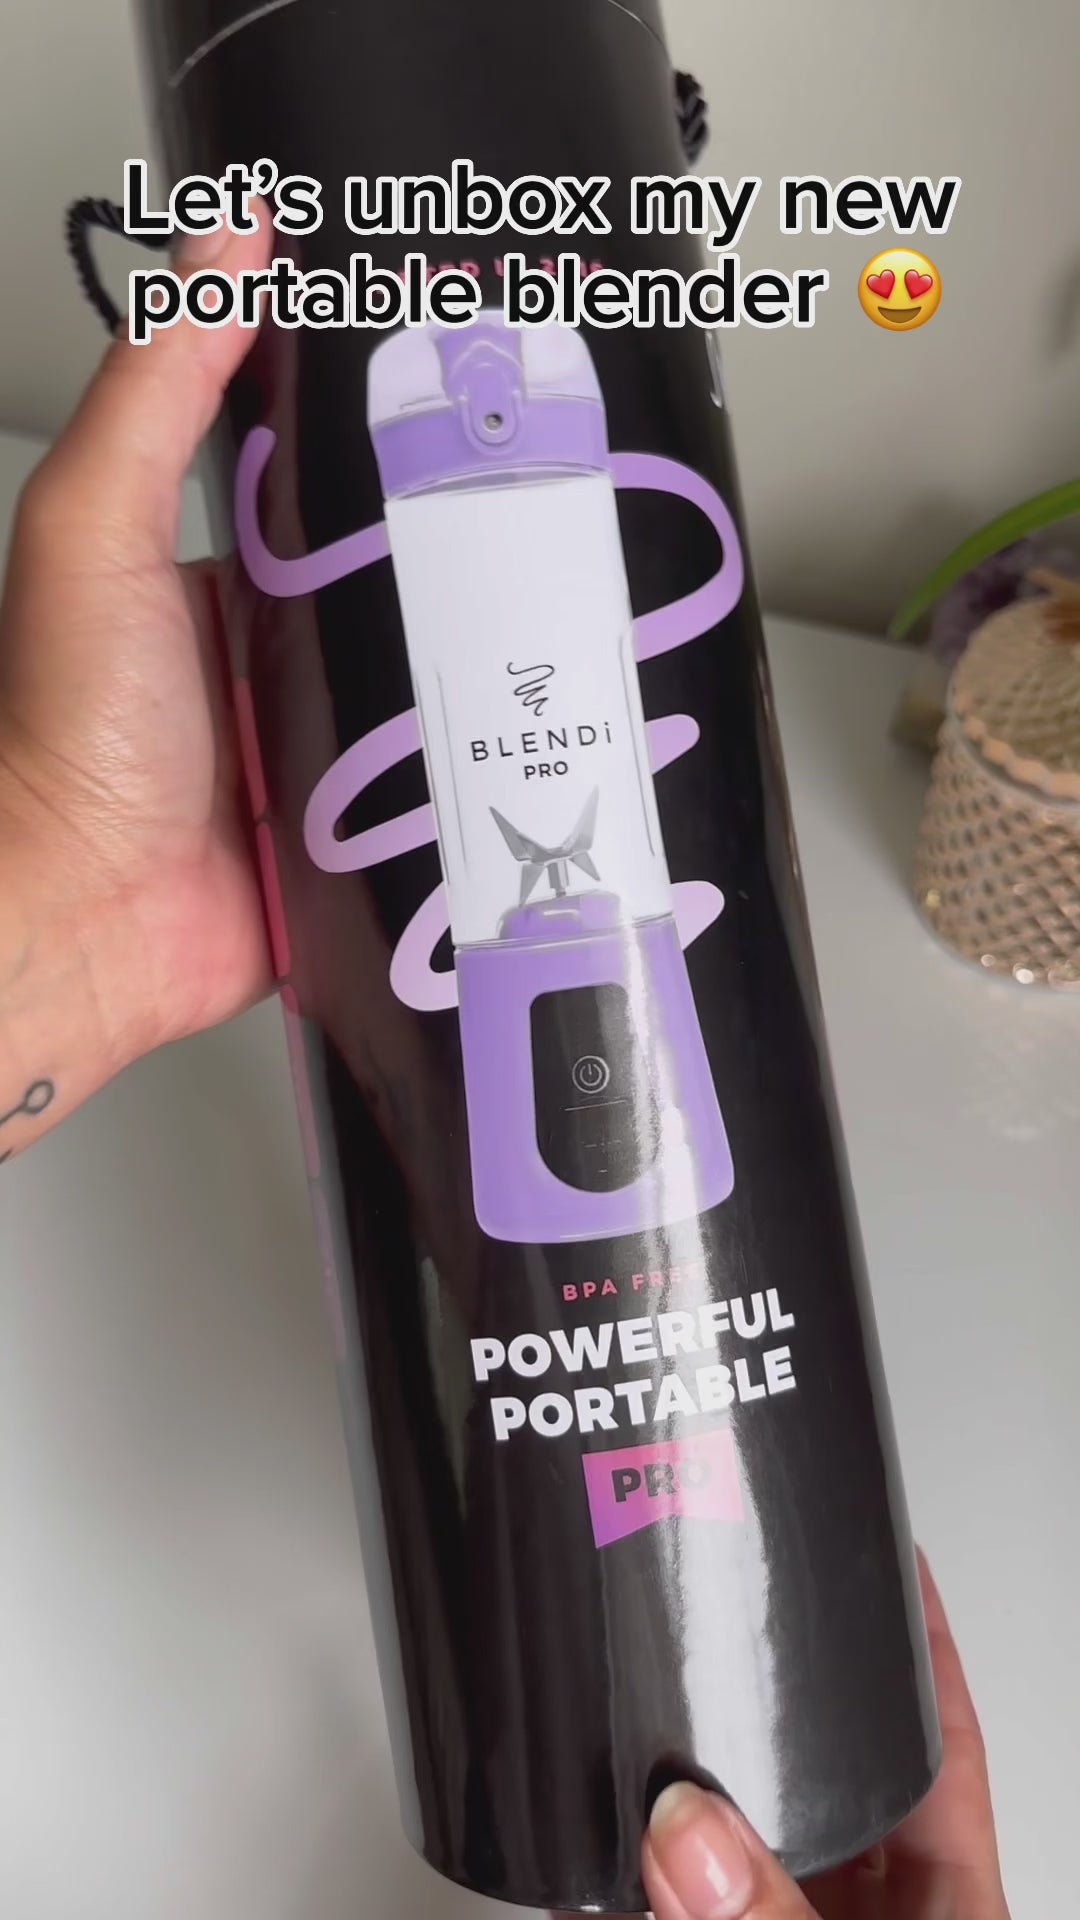


Love this BLENDi! It’s a great blender for my protein shakes! I loved them so much I bought several for Christmas presents! My grands will love them for their daily workout shakes!
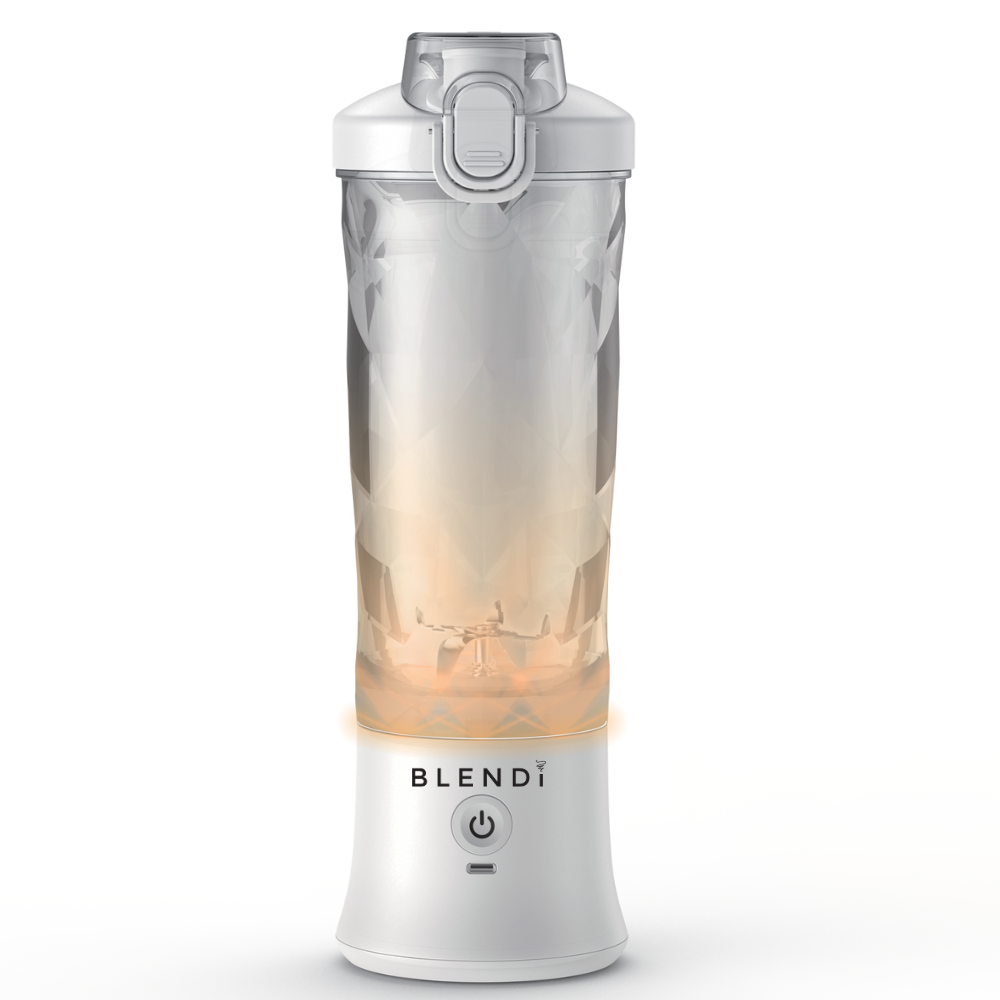
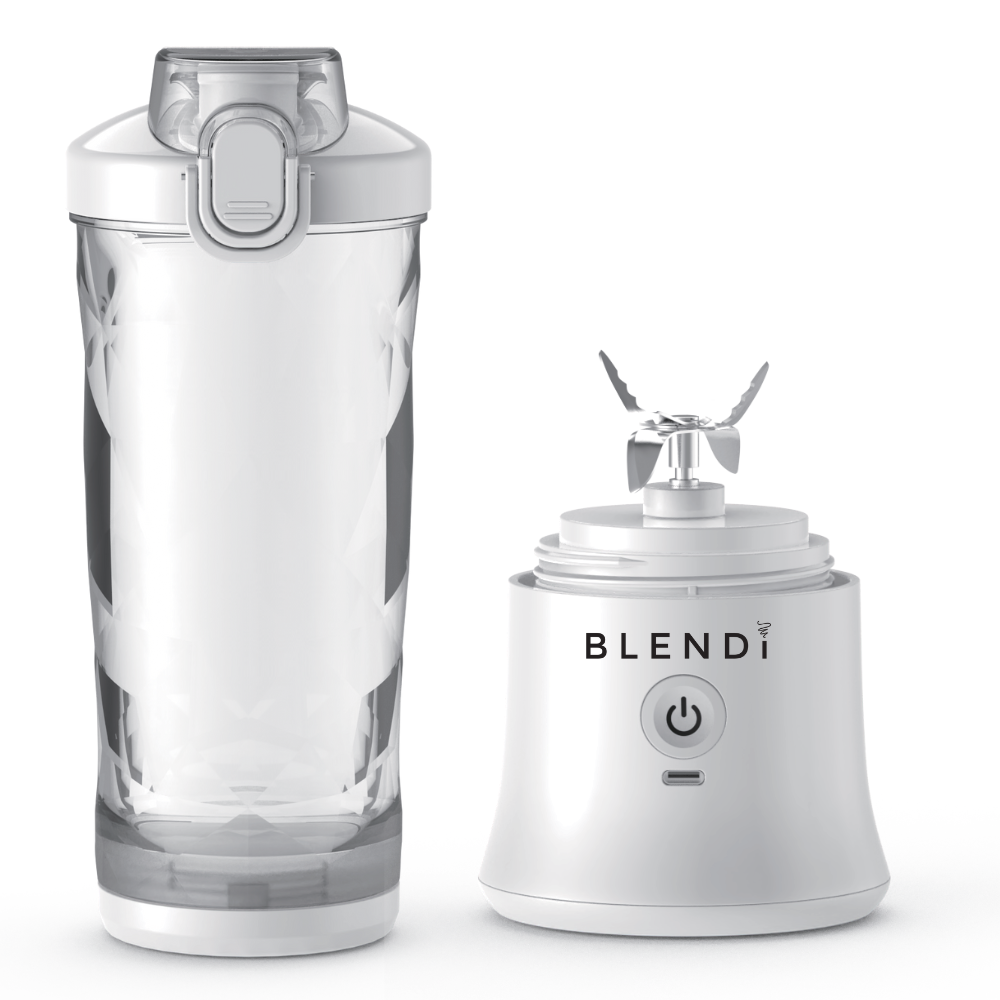
This portable blender does what the description says! It crunches up ice and frozen fruits with ease. Not having to change the lid to sip the drinks (smoothies, etc.) is great. This Blendi brand is quality made. I would definitely recommend this over a different brand I used to have.
I had an issue with my blender, customer service was great. I sent an email and heard back immediately. I was so surprised it was that quick and my issue was resolved.